For most of this year, cooking in my kitchen felt like a chore before I even turned on the stove. The counters were buried under appliances I rarely used, the fridge was a lucky dip, and finding the right lid for a pot was a two-minute archaeology project. A few weekends ago I finally snapped, blocked out a Saturday and Sunday, and organized the whole thing — fridge, pantry, knives, pots, everything.
This is exactly what I did, in the order I did it, including the parts I got wrong. If your kitchen stresses you out every time you cook, I genuinely think a single weekend can fix most of it — without buying anything expensive.
Why I finally did it
My kitchen isn’t big. That was my excuse for a long time: “there’s just not enough space.” But the honest truth was the opposite — the space I had was working against me because nothing had a home. Cooking dinner meant moving three things to reach one thing. Cleanup took longer than cooking. And I kept re-buying spices I already owned because I couldn’t see what I had.
The moment that tipped me over: I found three open packets of the same red chili powder in three different corners of the pantry. That was it. Weekend booked.
My plan: five zones, two days
Instead of trying to “organize the kitchen” as one giant job, I broke it into five zones and did them one at a time. This is the single best decision I made — each zone takes an hour or two, and you feel progress after every one.
- Counters — clear everything that doesn’t earn its spot
- Fridge — zones and bins
- Pantry — decant into airtight containers
- Knives & utensils — one drawer, properly organized
- Pots & pans — nest them, solve the lid problem
Zone 1: I cleared the counters first (day 1, morning)
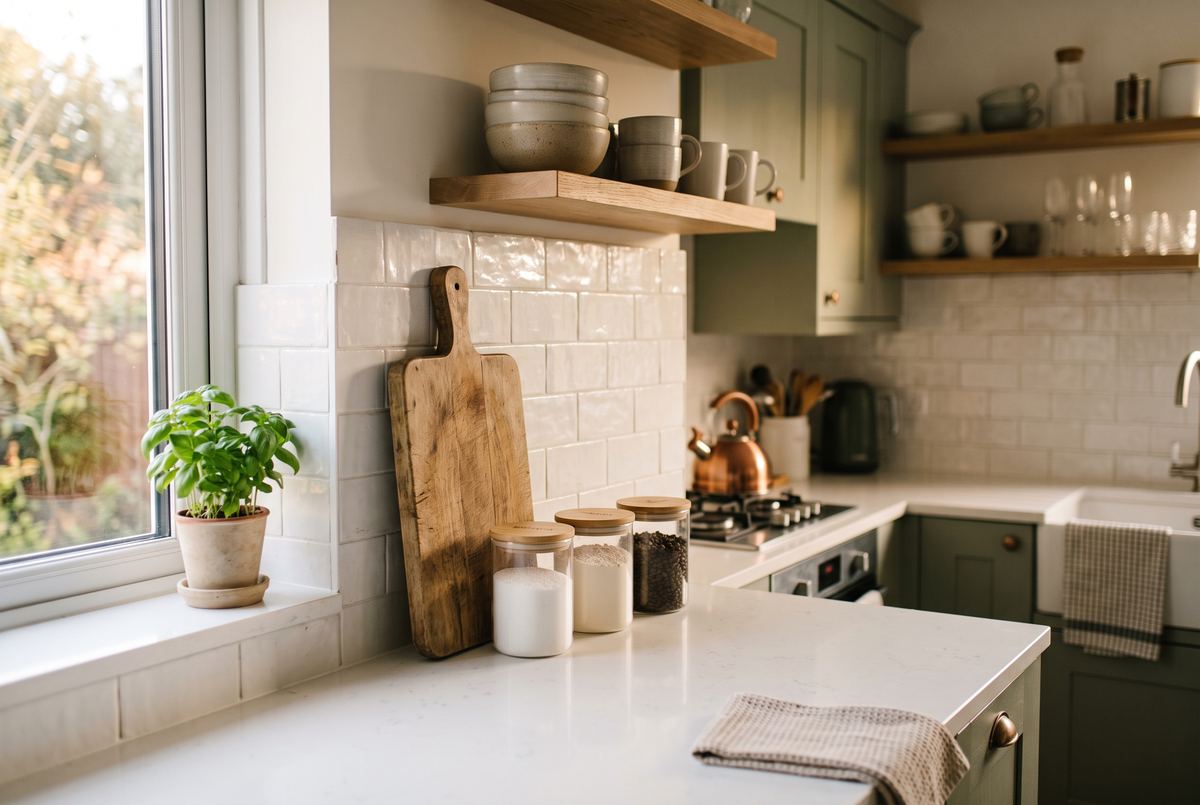
My rule was brutal: if I don’t use it at least three times a week, it doesn’t live on the counter. The blender went into a cabinet. The pile of “important” papers went to the desk where it belonged. What survived: the kettle, the cutting board, and a small tray for oil and salt that I reach for every single day.
Ten minutes in, the kitchen already looked 50% calmer. If you only do one thing from this post, do this one — it costs nothing.
Zone 2: the fridge got zones (day 1, afternoon)
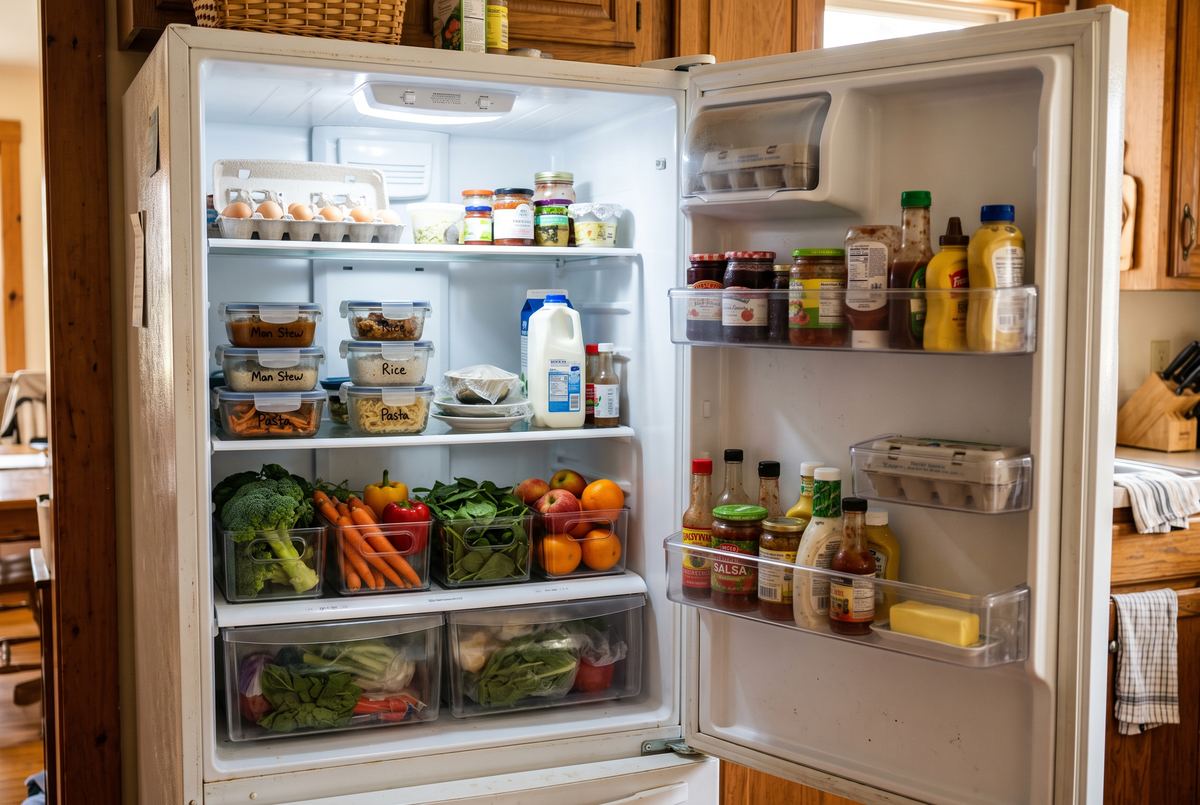
I emptied the entire fridge onto the table (do this — it forces you to face the expired stuff; I threw away more than I’d like to admit). Wiped it down, then reloaded it in zones:
- Top shelf: leftovers and ready-to-eat food — in matching clear containers so nothing gets forgotten
- Middle: dairy and eggs
- Bottom: raw ingredients for cooking (always lowest, so nothing drips onto ready food)
- Crisper drawers: vegetables in one, fruit in the other
- Door: condiments and drinks only
I added a couple of clear plastic bins to group small items — sauce packets in one, cheese in another. The game-changer is that everything is visible. Since the reorganization, leftovers actually get eaten instead of discovered as science experiments three weeks later.
Zone 3: the pantry — decanting was worth it (day 2, morning)
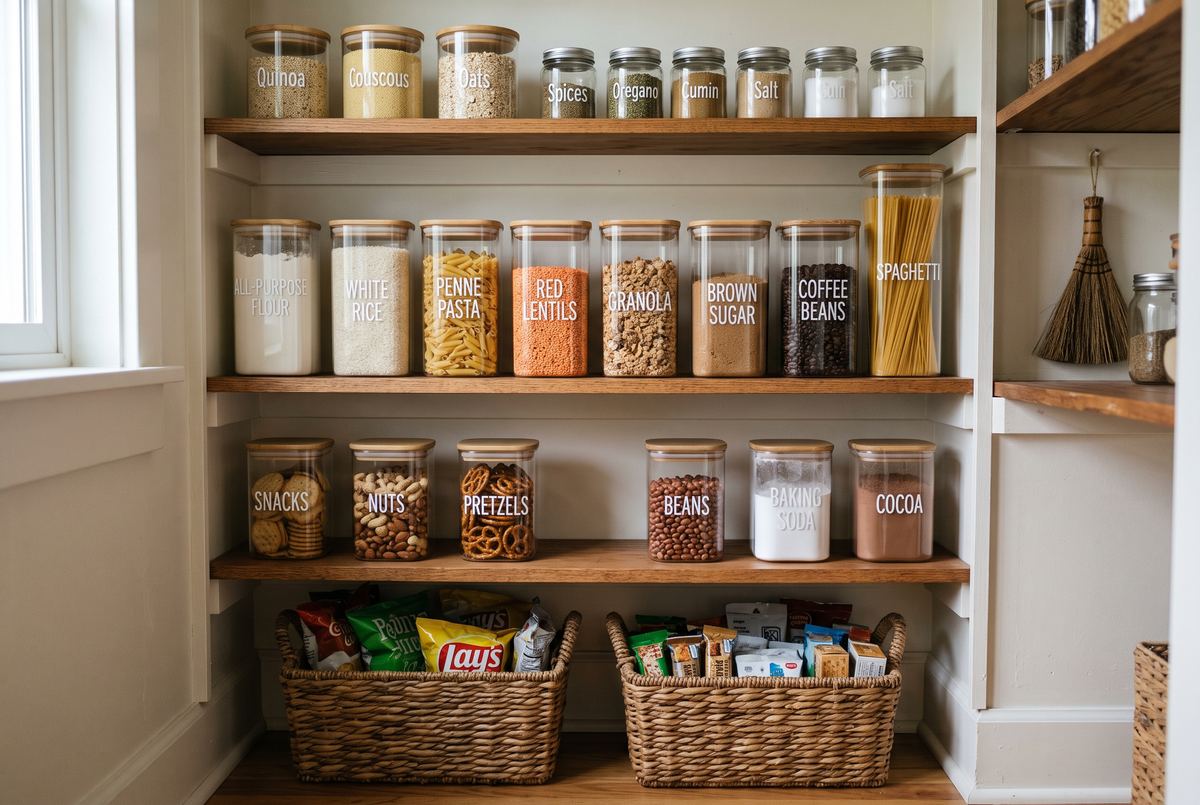
This was the zone I expected to hate, and it ended up being the most satisfying. I bought a set of basic airtight containers (nothing fancy — the mid-range ones), and moved rice, flour, lentils, pasta, and sugar out of their half-torn packets.
Three honest observations:
- Label everything, immediately. Flour and powdered milk look identical through plastic. Ask me how I know.
- Square containers beat round ones. Round containers waste shelf space; square ones sit flush together.
- Put a date on anything you decant. A strip of masking tape and a marker is enough.
Snacks and packets that didn’t justify their own container went into two baskets on the lower shelf — one for savory, one for sweet. When a basket overflows, that’s my signal to stop buying snacks. It’s a budget trick disguised as an organizing trick.
Zone 4: knives and utensils (day 2, afternoon)
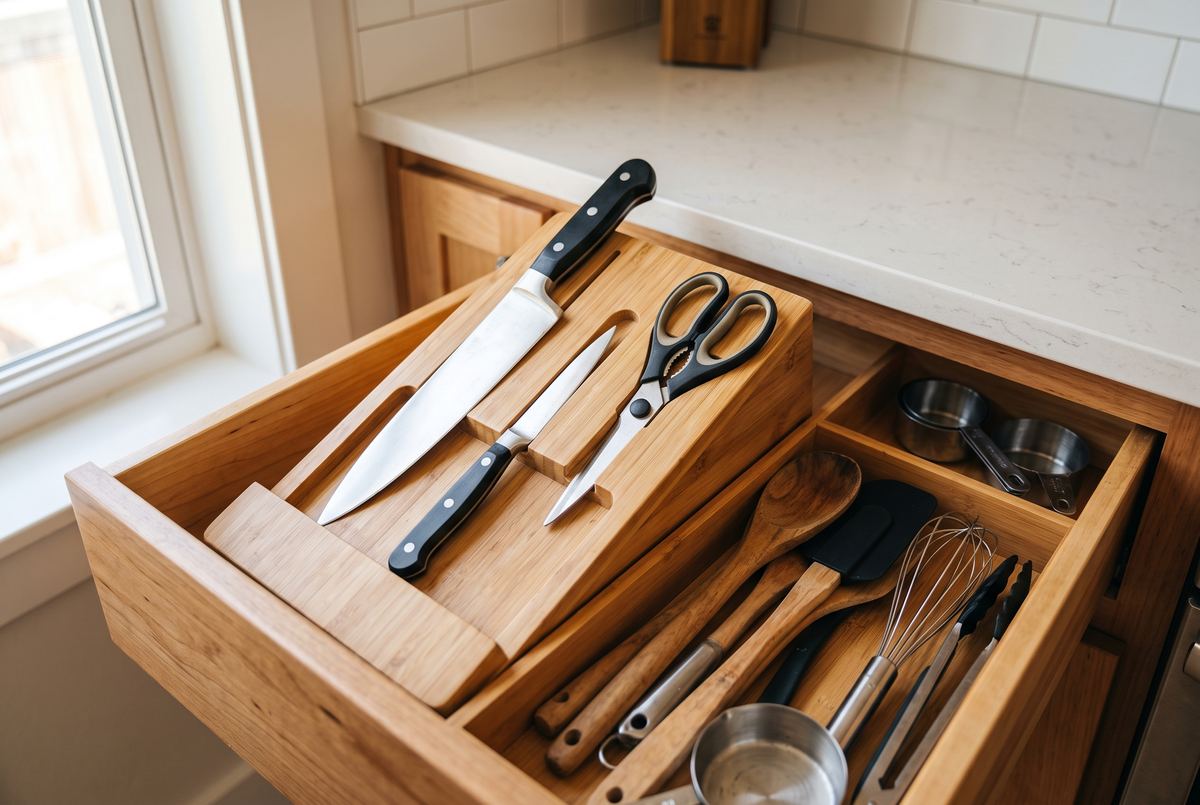
I’ll admit something: my knives used to live loose in a drawer, edges banging against spoons. It’s terrible for the blades and slightly dangerous every time you reach in. The fix cost almost nothing — an in-drawer knife organizer that holds each blade at an angle, edge down.
The utensil section got the same treatment: cooking spoons and spatulas in one compartment, measuring tools in another, and the “what even is this” gadgets went into a donation bag. I had two pizza cutters. I don’t remember buying either one.
Zone 5: pots, pans, and the lid problem
Pots now nest inside each other, largest to smallest, in the cabinet next to the stove — because pots should live where you cook, not where there happened to be space. The real victory was the lids: I stood them upright in a simple rack (a cheap dish rack works perfectly for this) instead of stacking them in a pile. Finding a lid now takes two seconds. This used to be the most rage-inducing corner of my kitchen.
What surprised me
- The mental effect is real. I expected a tidier kitchen; I didn’t expect to want to cook more. A clear counter genuinely lowers the barrier to starting dinner.
- I spent less than I planned. The containers and drawer organizer were the only real purchases. Everything else was rearranging what I already owned.
- Maintenance is nearly zero. Because everything has one obvious home, putting things back is automatic. Two months later, it still looks like the photos.
The mistakes I made (learn from them)
- I bought containers before measuring my shelves. Two of them didn’t fit standing up. Measure first, buy second.
- I tried to do the whole kitchen in one day at first. By zone three I was exhausted and sloppy. Splitting it across the weekend saved the project.
- I nearly organized clutter instead of removing it. The donation bag matters — organizing junk neatly is still keeping junk.
Was it worth it?
Completely. One weekend, a modest spend on containers and a drawer organizer, and cooking went from stressful to actually enjoyable. Cleanup is faster, I’ve stopped re-buying things I already own, and the kitchen has stayed organized with basically no effort — because the system does the work, not willpower.
If you’re staring at a chaotic kitchen right now: pick one zone, set a timer for one hour, and start with the counters. That first win pulls you through the rest.
Quick FAQ
How long does it take to organize a small kitchen?
For me, one weekend — roughly two hours per zone across five zones. Doing one zone per evening over a week works just as well.
What should I buy before organizing?
Less than you think. Start by decluttering, then buy only what the remaining stuff needs. My entire list: a set of square airtight containers, two baskets, a few clear fridge bins, and an in-drawer knife organizer.
How do I keep the kitchen organized long-term?
Give every item exactly one home, keep counters near-empty, and do a five-minute reset after cooking. If something new comes in, something old goes out.
More of my kitchen and home finds live in the Home & Kitchen section — everything there follows the same rule: I only recommend what I’d tell a friend to buy.