
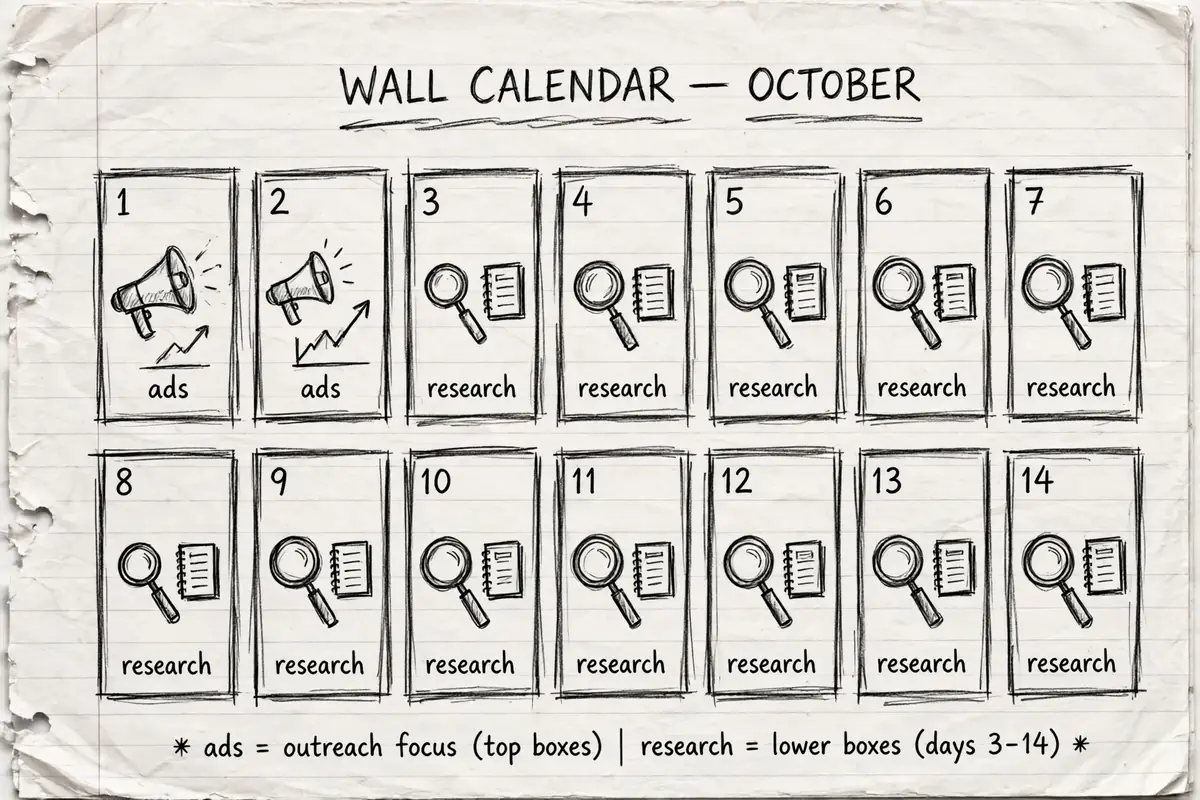
Most lists of print on demand tips for beginners start with design tools. In one lockdown-era video, a UK t-shirt seller works through the opposite order. Asked what he would do with 14 days stuck at home and a print on demand business to build from nothing, he spends the first three days on audience research, four more on design research, and does not spend a penny on ads until day 13.
His reasoning is plain. You do not start paying for ads until everything before them is ready, because ad money only makes sense once you are reasonably sure the product can sell. The plan below follows his timeline, stage by stage, with the targets and budgets he puts on each one. If you need the model itself explained first, our guide to what print on demand is and how it works covers the basics. This post is about the order of the work.
Days 1 to 3: research the audience before anything else
His strongest claim in the video is that most beginners get the order backwards. They research designs and niches first, then wonder who the shirt is actually for. He starts with the audience, because the audience tells you whether a t-shirt has anyone to target at all.
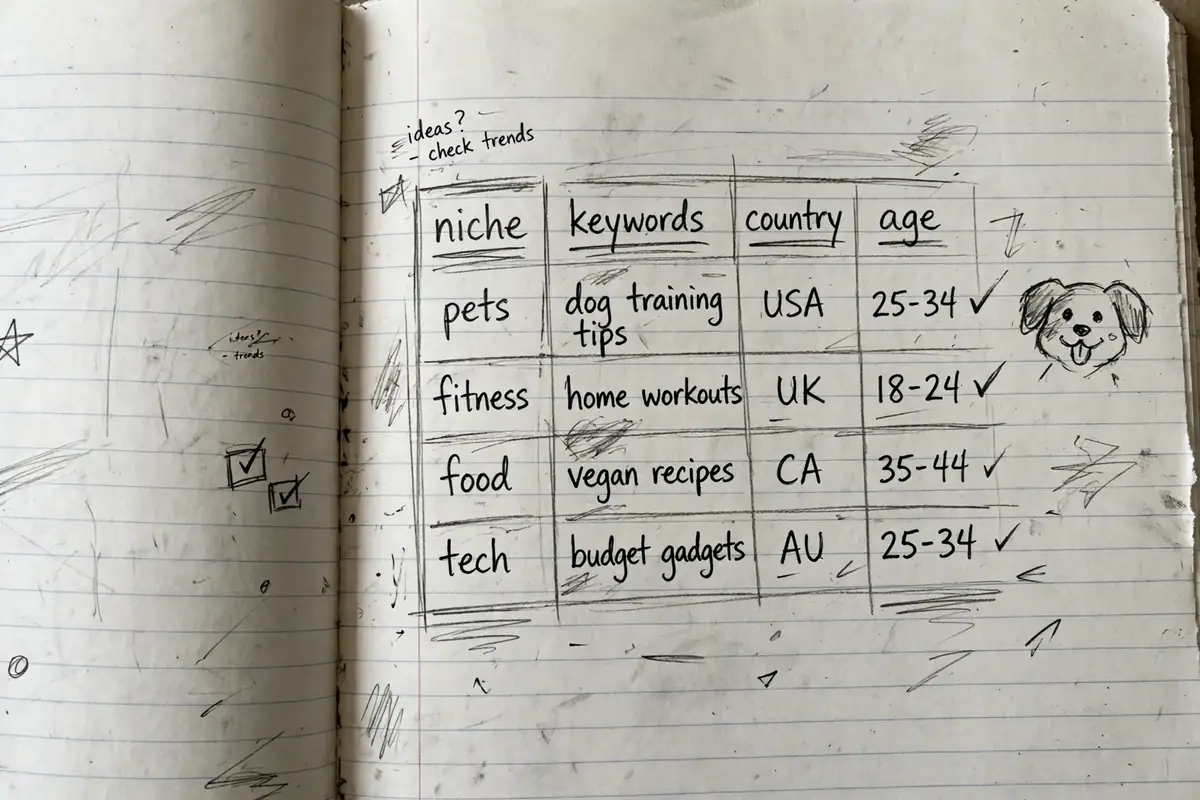
In the video he opens Facebook’s Audience Insights tool and builds a Google Sheets spreadsheet next to it, with four columns: niche, targeting keywords, country, and age. Each niche gets five to ten keyword ideas. His worked example is the dog niche, where a broad interest like dog rescue is only a starting point. He narrows it down to specific organisations, and strikes out one entry when it turns out to be an employees page rather than a public audience. One organisation he keeps, Rocket Dog Rescue in the United States, shows an audience of roughly 40,000 to 45,000 people.
Two settings he is specific about. First, aim for about 10 niches in the spreadsheet by the end of day 3. Second, set the age range to 25 to 65. He leaves out the 18 to 24 bracket, which he says runs really low, and targets the older range instead.
Days 4 to 8: research designs on sites buyers already use
With the audiences listed, he gives design research four full days. The sources are Redbubble, the discover pages on Teespring, Pinterest, and Google. On Redbubble he searches the niche, filters the results down to clothing, and notes what is already on sale. On Pinterest he searches phrases like “dog funny t-shirt” and judges how popular an idea is by the likes and comments on each pin.
Every idea goes into the spreadsheet, on a separate sheet per niche, with the t-shirt text written out in a list. His sample entries for the dog sheet are short phrases in the style of “Pug Life”. Google searches follow the same pattern as the Pinterest ones: the niche plus “funny t-shirt”, “t-shirt quote”, “motivational t-shirt”, or “joke t-shirt”.
The target for this stage is about three design ideas per niche. Across 10 niches, that is roughly 30 ideas to work from, collected before a single design gets made.
Days 9 and 10: turn ideas into finished designs
Design creation gets two days. He names Canva and Photoshop for doing the work yourself. If you cannot design, he points to 99designs, Fiverr, and Upwork, where someone else makes the designs for you. The two-day block exists partly because of that option: outsourced work on those sites often comes back in about two days, so the schedule leaves room for it.
The minimum he sets is two finished designs per niche. With 10 niches, that means 20 completed designs by the end of day 10. He is candid about why the number needs to be that high. A lot of the designs will fail and sell nothing. He repeats a saying he has heard, that roughly one in seven designs turns out successful, and admits he does not know how true it is. The logic stands either way. Twenty finished designs give you twenty chances; three designs give you three.
Day 11: upload all 20 designs in a few hours
Uploading gets a single day, and he calls it the fastest stage of the plan. It means putting each design onto the platforms you plan to sell on, Teespring, Redbubble, or Printful in his examples, with its title and description written and the product page fully prepared. He estimates about three hours to set up pages for all 20 designs, so one day is generous.
Day 12: make marketing material for five designs, not twenty
On day 12 he prepares the marketing material, but only for five of the 20 designs. That batch gets tested first. The next batch of five gets its material made only after the first test is done, so no time is spent polishing designs that may never be advertised.
Marketing material, in his usage, means mockups and ad copy. The mockups show the shirt in a setting: a background, a person wearing it, a prop beside it, maybe a small catalogue shot of several shirts. He is clear that a lone t-shirt on a blank background is not enough for a Facebook ad. The ad copy is the text that sits above the image in a news feed ad, and it is written for the audience saved in the day 1 spreadsheet. His example speaks straight to dog lovers about their dogs, then points them at the shirt.
Days 13 and 14: test three designs with $75
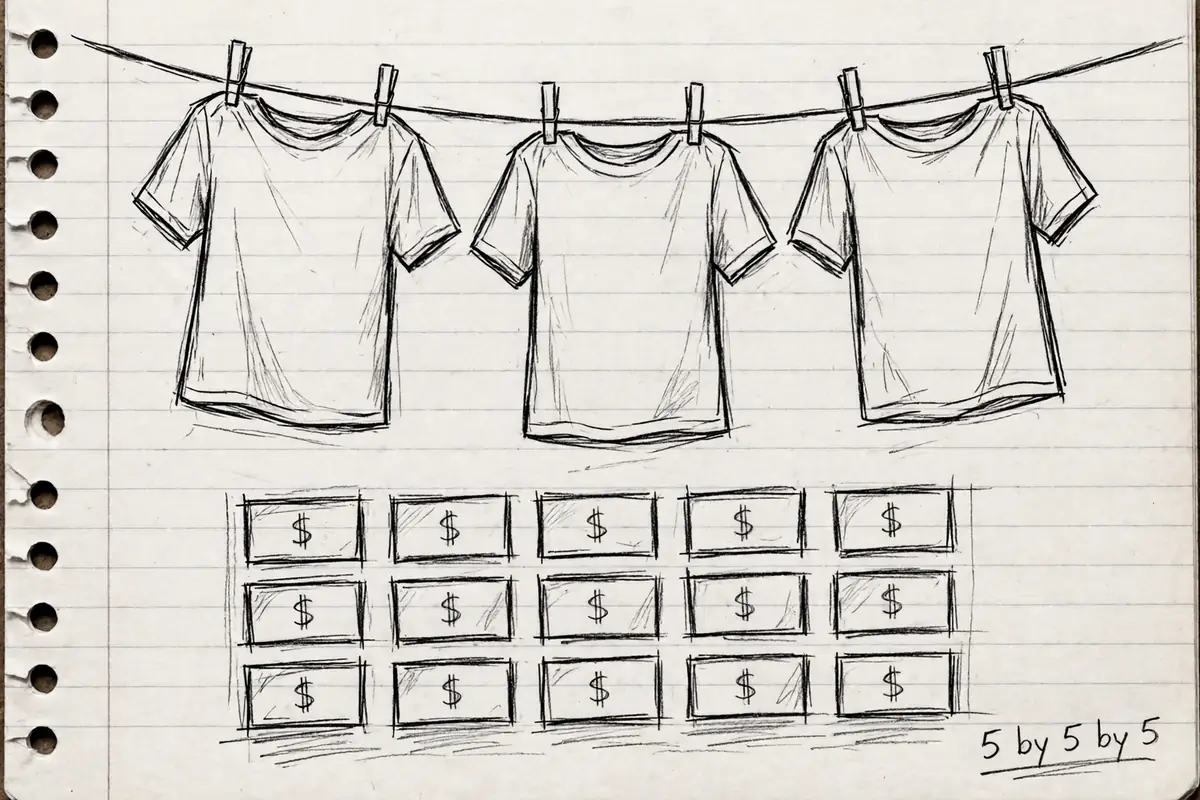
This is the only stage where money gets spent. He picks three designs from the prepared batch and builds Facebook ads for them, aimed at the audiences recorded in the spreadsheet during days 1 to 3. His testing method has a name: 5 by 5 by 5.
- 5 ads
- 5 different targeting options
- $5 per ad
That works out to $25 to test one t-shirt. Three shirts means 15 ads and $75 in total. The middle five can be swapped around: he mentions using five countries or five age groups instead of five interest targets. Either way, his point is that $75 buys you a real answer on three designs before you commit to anything bigger.
Day 15: keep it, give it one more day, or kill it
The plan technically runs one day over, and he says so himself. On day 15 he reviews the test results and applies three rules.
- A design that made sales keeps running, no debate. He would put more money behind it.
- A design with no sales but plenty of positive comments, likes, and shares gets exactly one more day. Shares matter most to him, because they pile up over time and put the ad in front of more people without extra spend.
- A design with few likes, shares, or comments gets paused. He adds a useful caveat here: a weak result does not always mean a bad shirt. The audience may have been the wrong one, and the design can go back in against a different audience later.
Once those calls are made, the same cycle repeats with the next three designs, and then the next, until all 20 have been in front of real buyers.
Print on demand tips for beginners: the pattern underneath
The calendar is the least important part of the video. What carries over to any schedule is the order of operations and the way the numbers shrink as the plan moves. Research comes before design, design comes before upload, and ad money comes last of all. Ten niches become about 30 ideas. Thirty ideas become 20 finished designs. Twenty designs become five with marketing material, then three in a paid test, then a small number that earn a second day or a bigger budget.
Most beginners run that funnel in reverse, starting with ads and the widest possible catalogue. His version starts with a spreadsheet and ends, just over two weeks later, with $75 worth of evidence about what strangers actually want to buy. If you are thinking beyond a first store, our post on how to make your first million looks at the longer game of building income that lasts.
Disclaimer: This post is educational content based on one seller’s video walkthrough. It is not financial or business advice, and it promises no income or result of any kind.